How to add fonts to google slides?
You can easily personalize your slides with your favorite fonts and have a good impression on your audience. Google Slides have a selection of pre-loaded fonts, but uploading your own custom fonts lets you put your creativity on slides that perfectly aligns with your brand or presentation theme.
Let’s see how we can add custom fonts to Google slides:
Find the ‘More Fonts’ Option
Click on a text box on your slide. This could be an existing title, subtitle, or any text element you want to customize.
Look for the toolbar at the top of your screen. This toolbar contains various options for formatting text, including font style, size, and color.
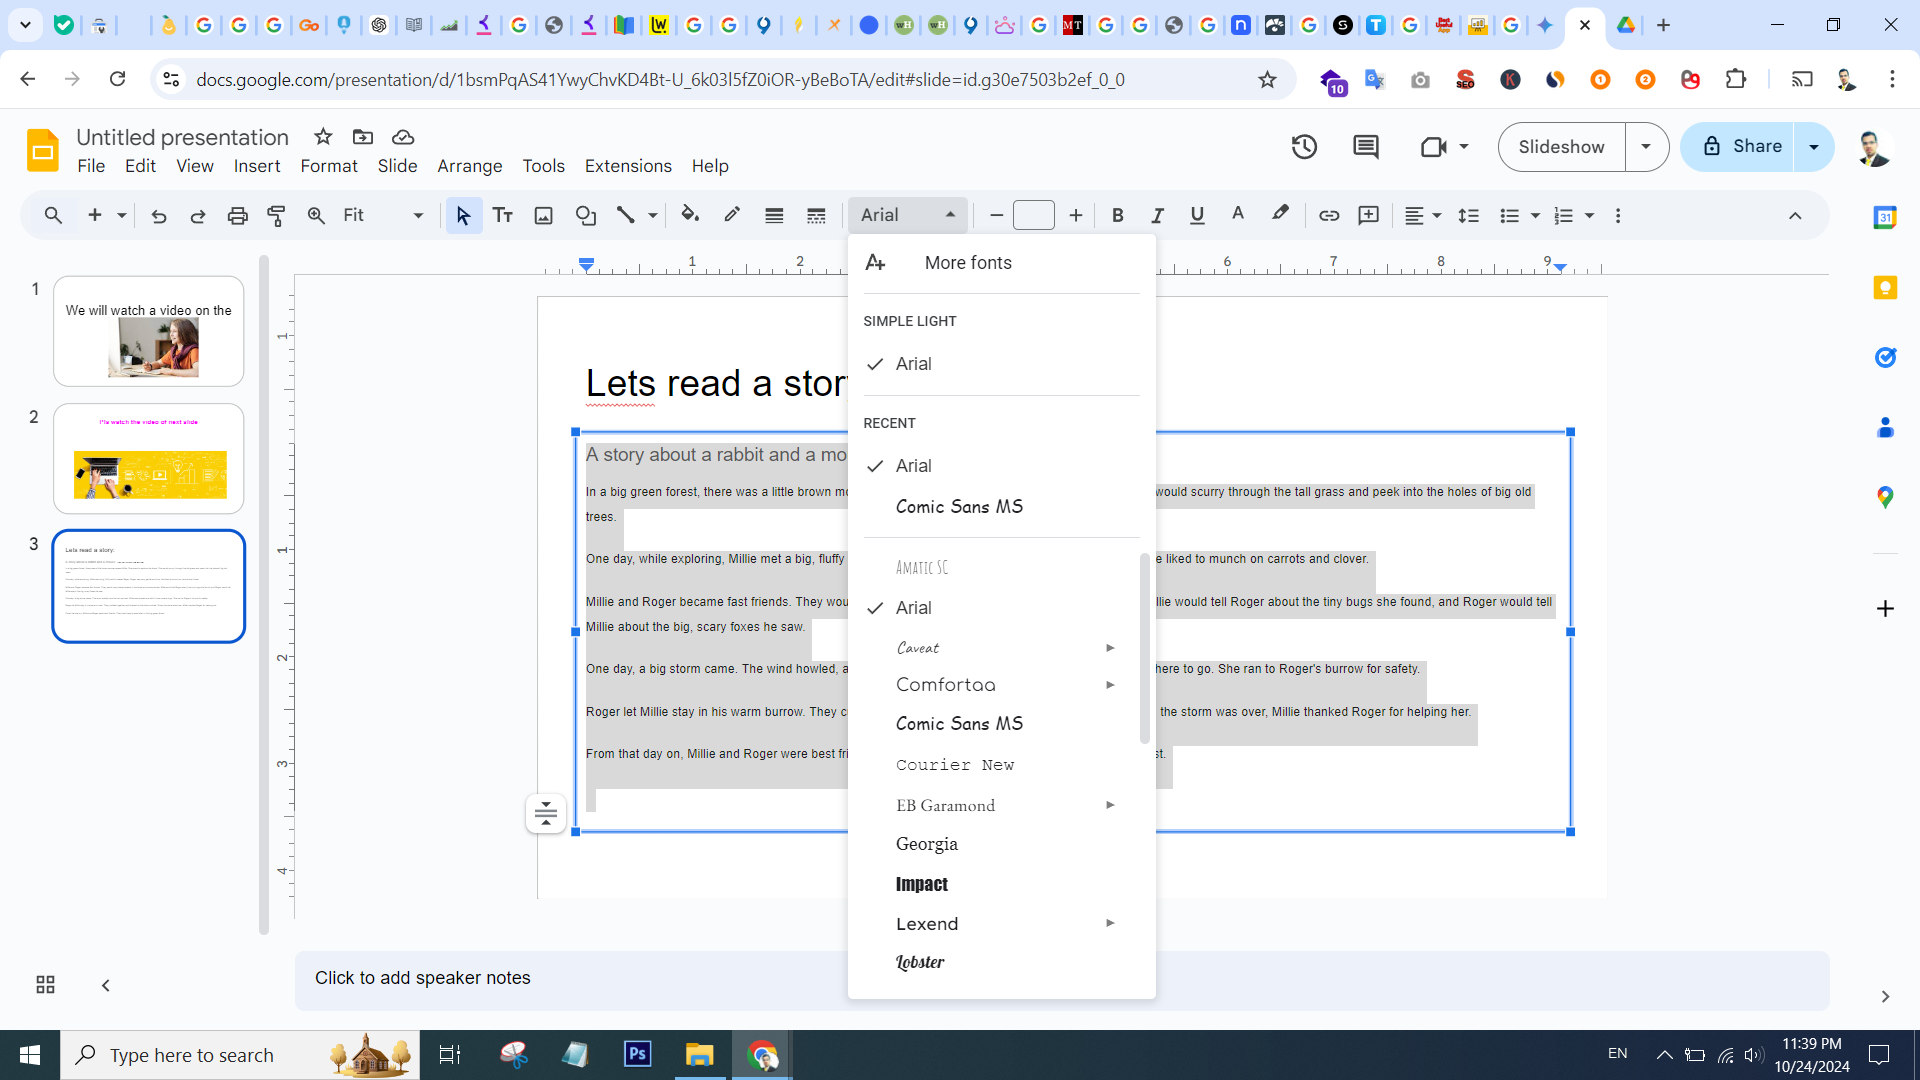
Within the toolbar, you’ll find a drop-down menu labeled ‘Font.’ Click on this menu. This will display a list of fonts already available in Google Slides.

Don’t be discouraged if you don’t find your desired font right away! Scroll down to the bottom of the font list and look for an option that says ‘More fonts.’ This is your gateway to a wider font selection. Click on ‘More fonts’ to unlock a whole new world of possibilities.

Choose your favorite font
A side window will appear on your screen. This window is where you can explore and select your custom fonts. Here’s what happens next:
Add Fonts’ Section: Look for a section labeled ‘Add fonts.’ This is where the magic happens – you’ll upload your custom font files here.
The ‘+’ Button: Click the ‘+’ button located within the ‘Add fonts’ section. This button acts as a doorway to your computer’s files.
Finding Your Font Files: Now, navigate through your computer’s folders to locate the custom font files you want to upload. These files are typically in TTF (TrueType Font) or OTF (OpenType Font) format.
Selecting and Uploading: Once you’ve found your desired font files, select them and click ‘Open’ to initiate the upload process. Google Slides will then upload your fonts.
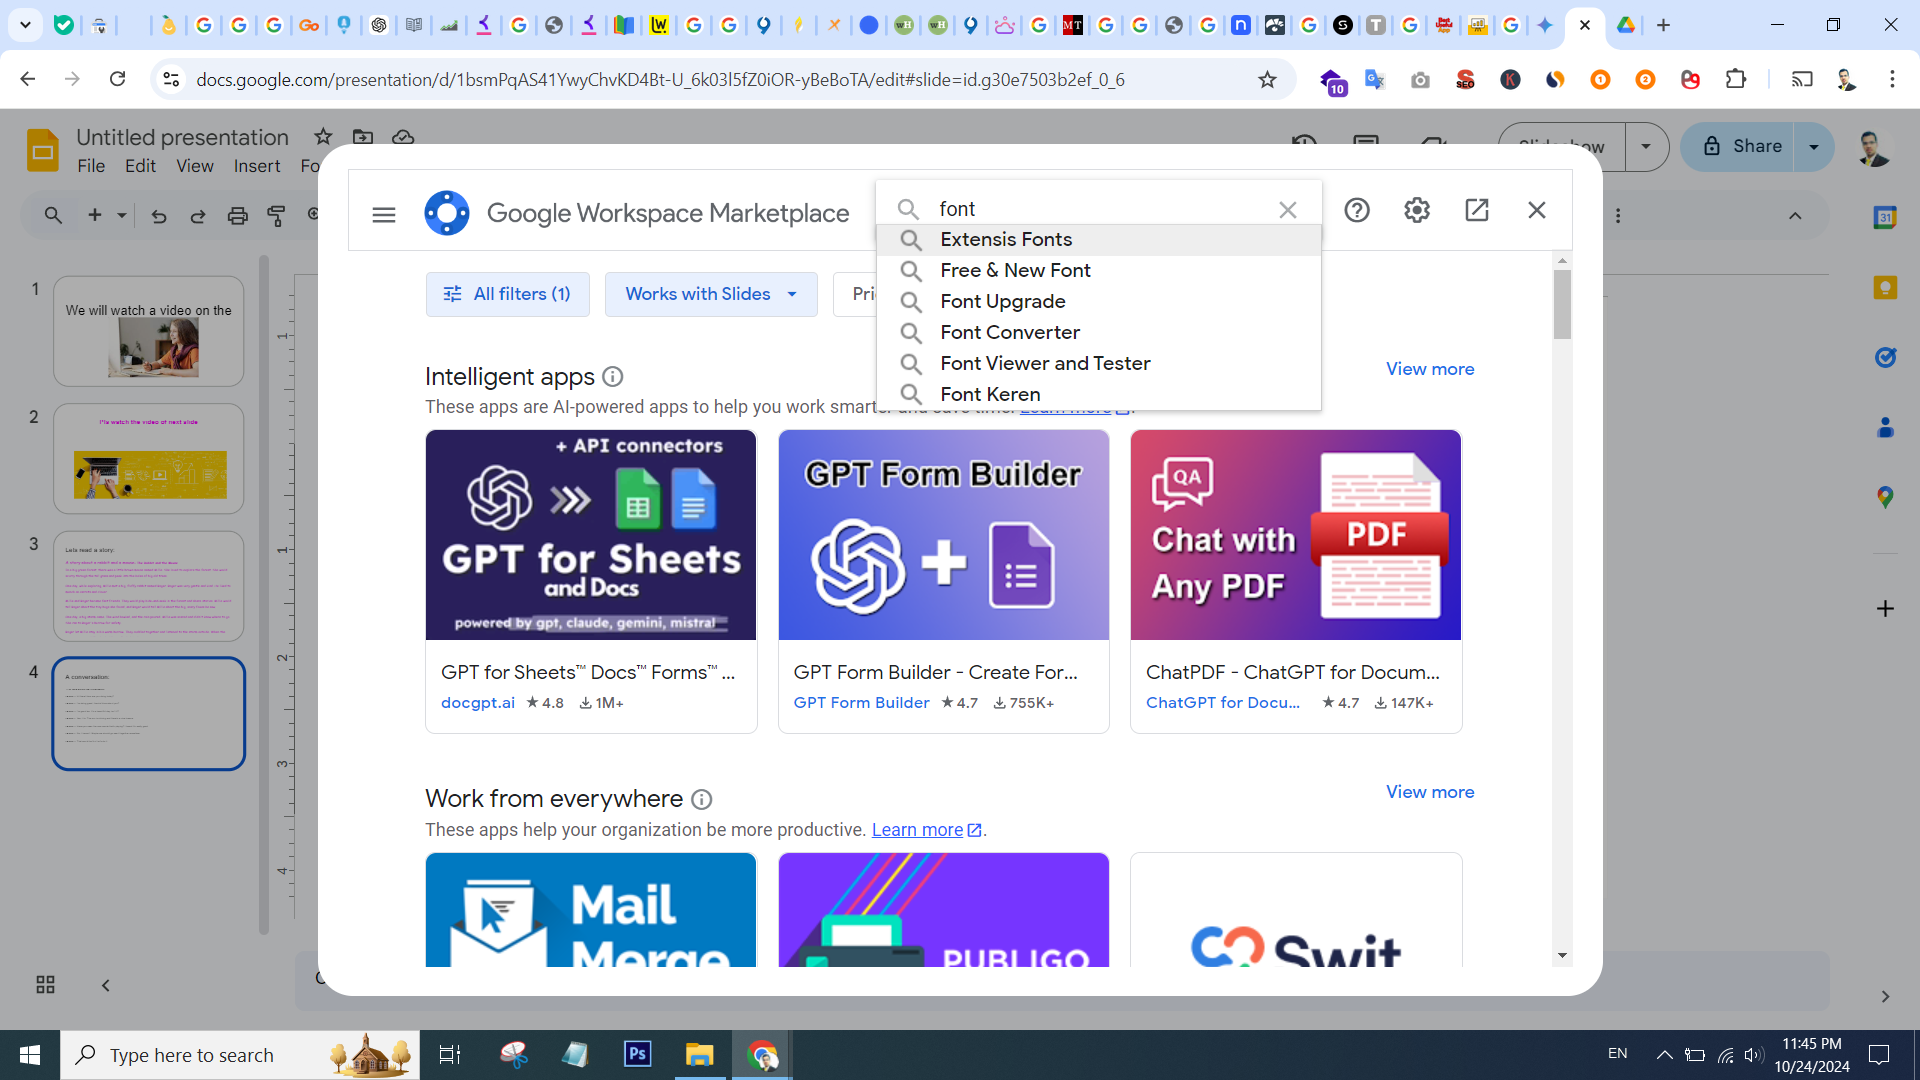
install an extension
in extension part, search for fonts and choose the first extension. after installation, sync that to gmail address and click on allow and then run it into your google slides. Now you have all the fonts you want

Apply Your Uploaded Fonts
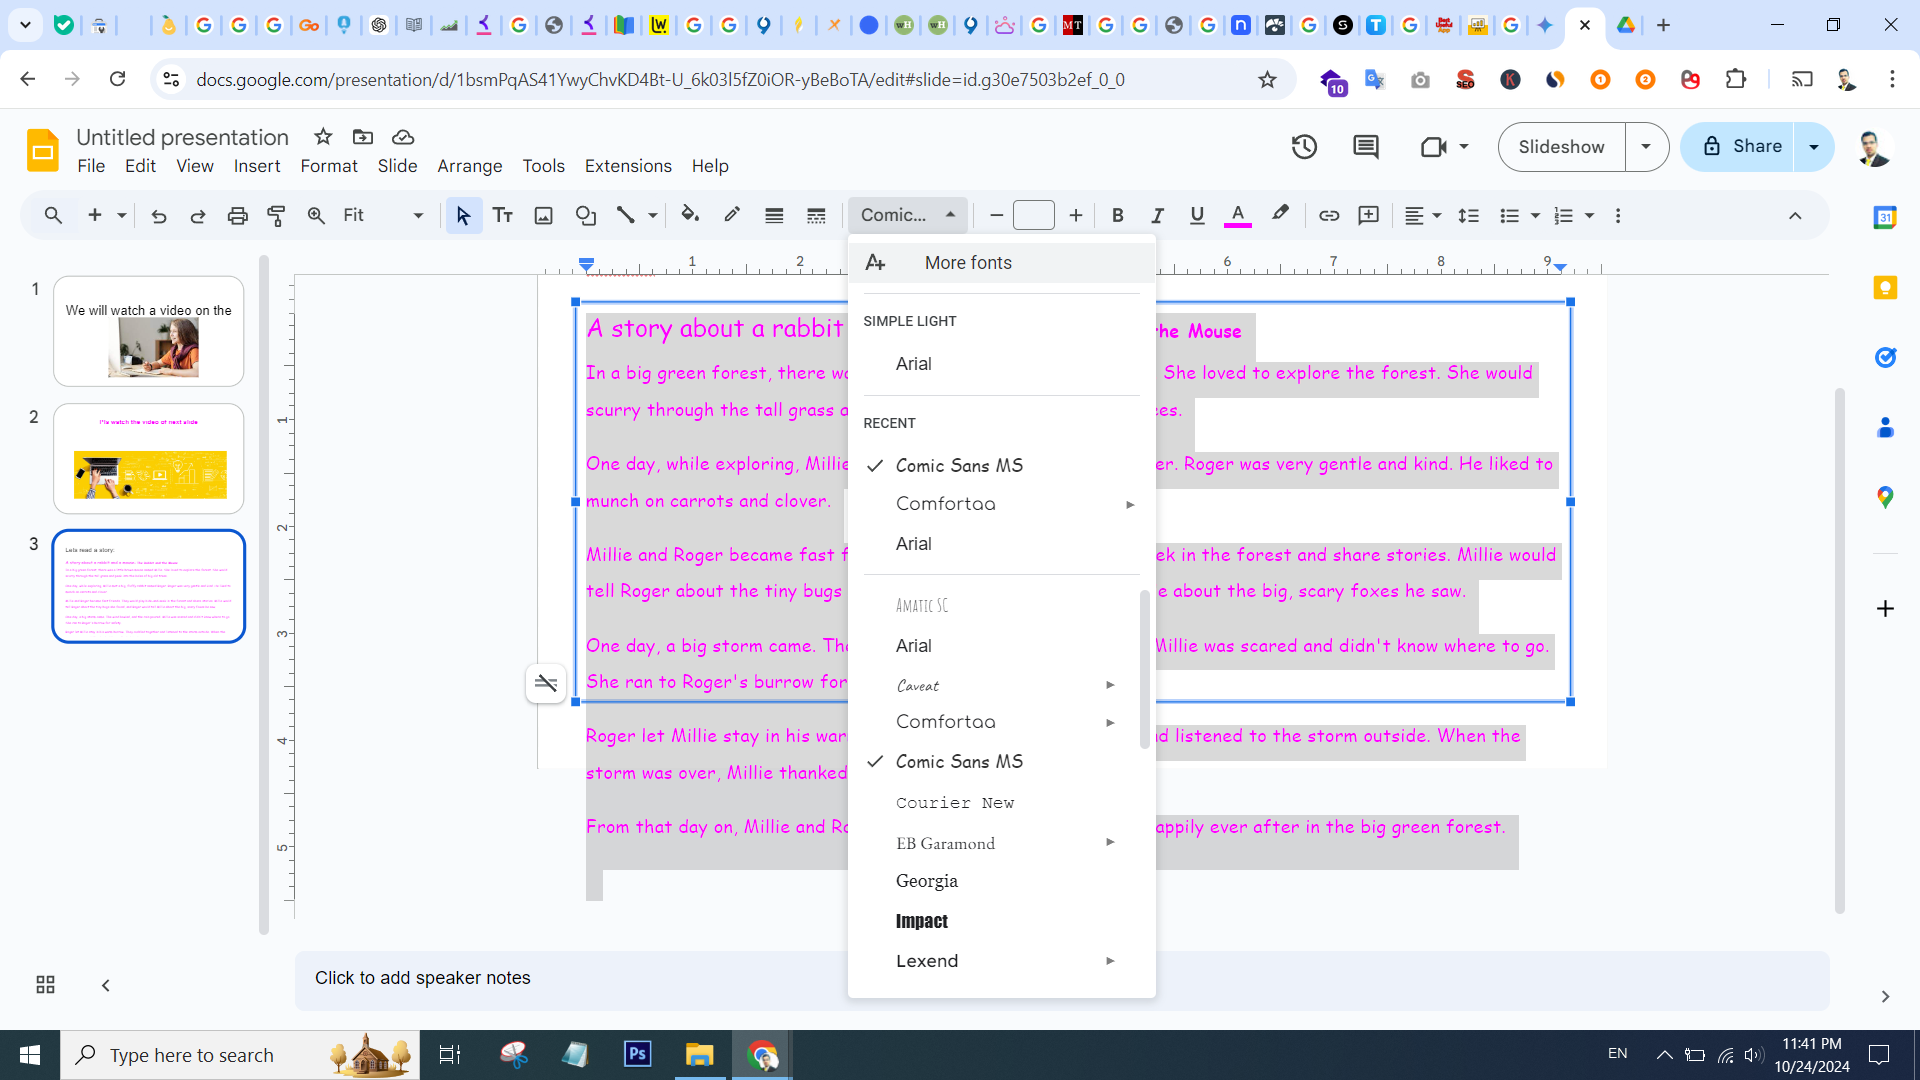
After successfully uploading your custom fonts, you’ll find them neatly organized under a new tab named ‘My fonts’ within the ‘More fonts’ window.
Here’s how to apply your uploaded fonts to your slides:
Find your Chosen Font: Within the ‘My fonts’ tab, browse through the uploaded fonts you just added. Click on the one you want to use on your presentation.
Once you’ve chosen the desired font, click ‘OK’ to apply it to the selected text box on your slide. Watch as your text transforms, adopting the style of your chosen custom font!
Save and Close
It’s crucial to save your changes so your hard work doesn’t disappear! Click on the SAVE button located at the top right corner of your screen. This will ensure your presentation reflects the new custom fonts you’ve applied.
Enjoy Your Enhanced Presentation!
Remember, you might have been editing your slides in a special ‘master slides’ view. To get back to your main presentation, simply click Close’ on the ‘master slides’ menu.
Congratulations! You’ve successfully added custom fonts to your Google Slides presentation. Now, your slides boast a unique and personalized touch, perfectly reflecting your style and presentation goals.

